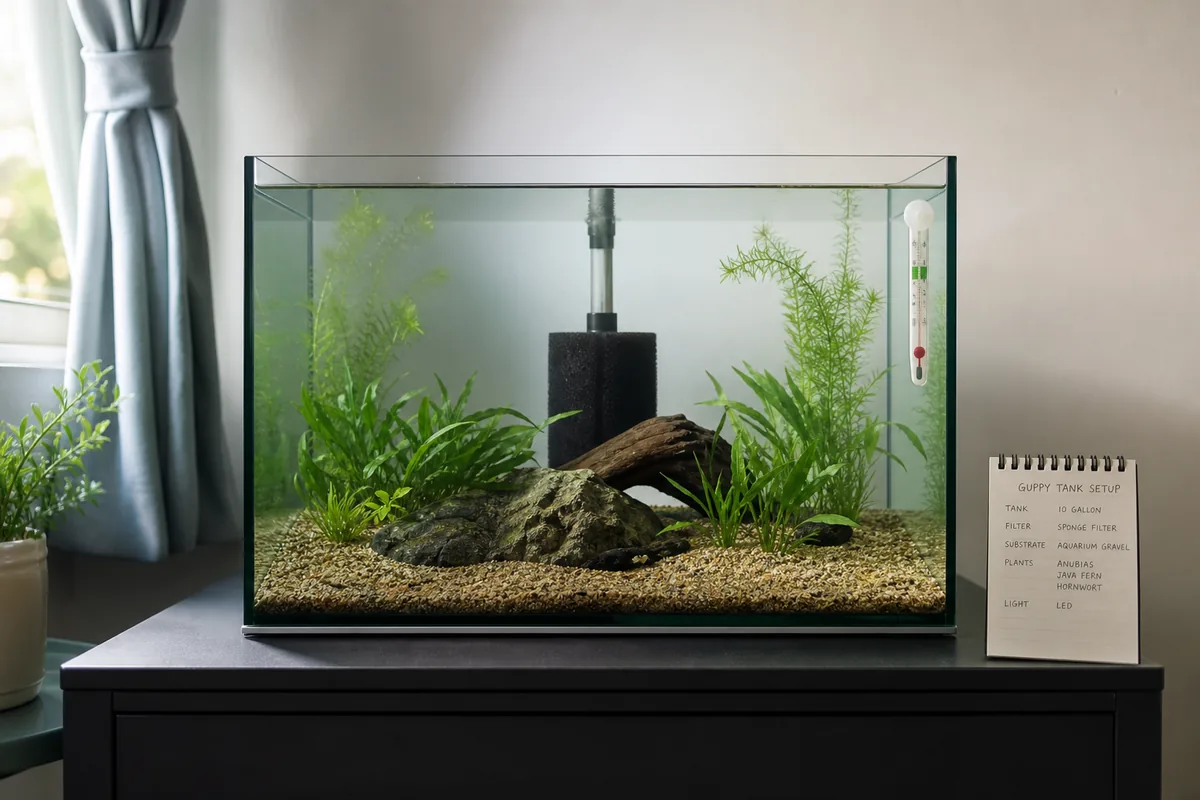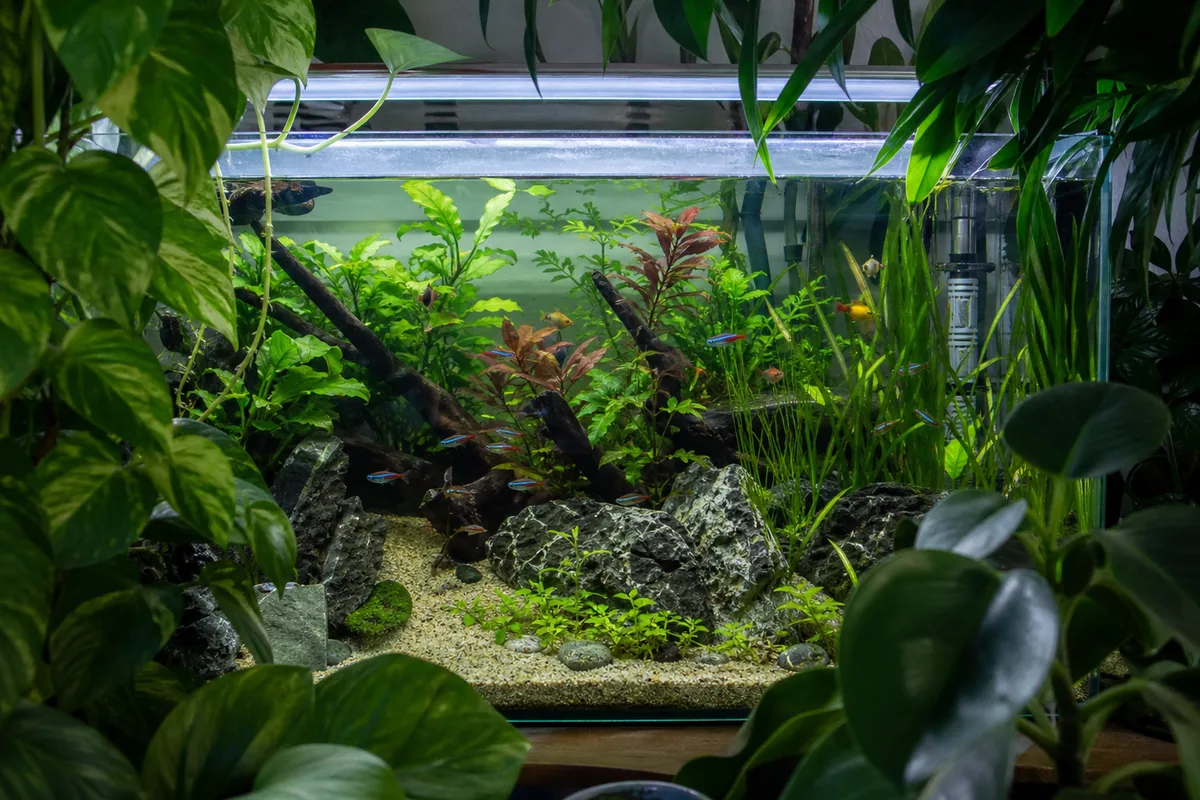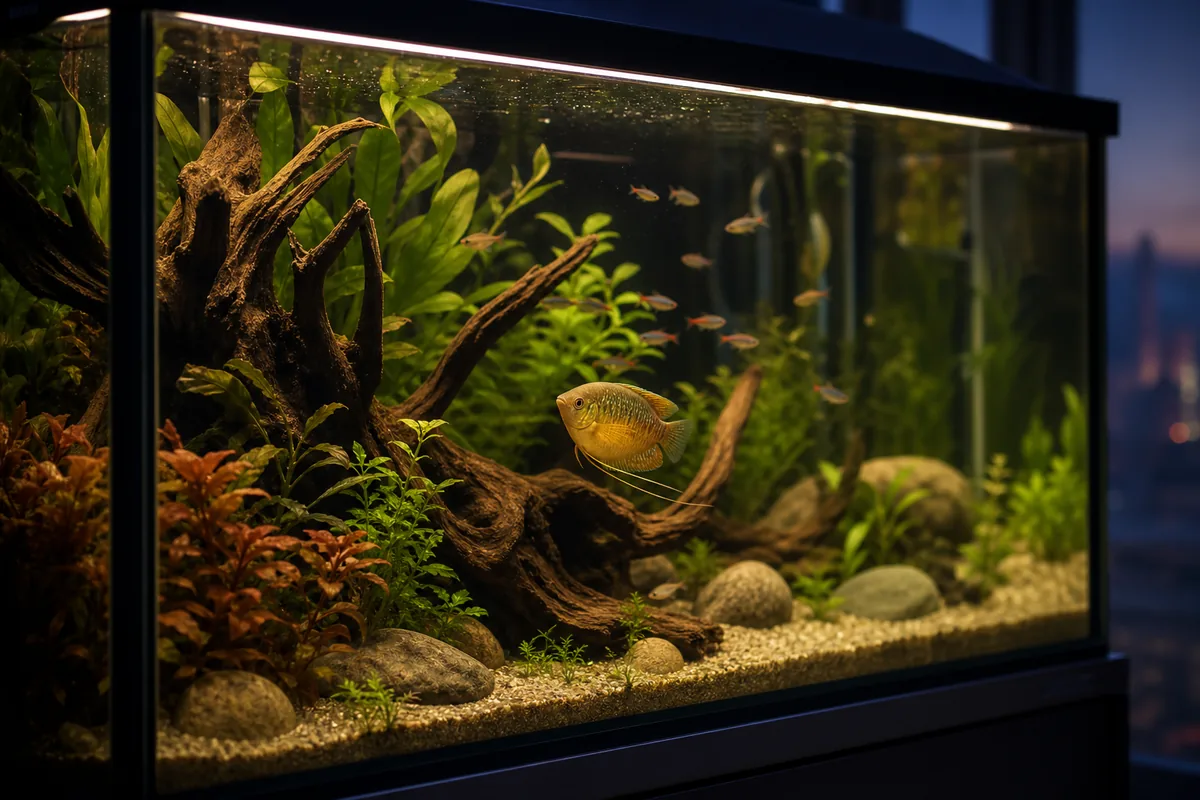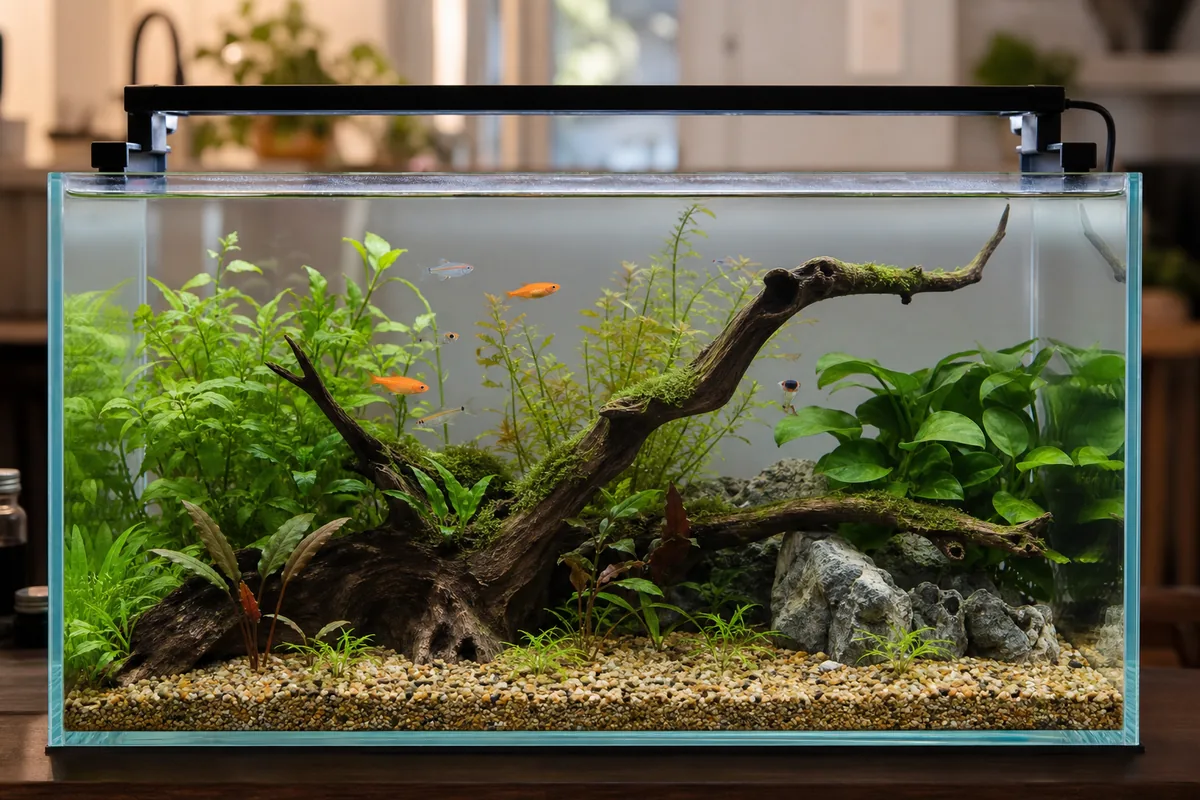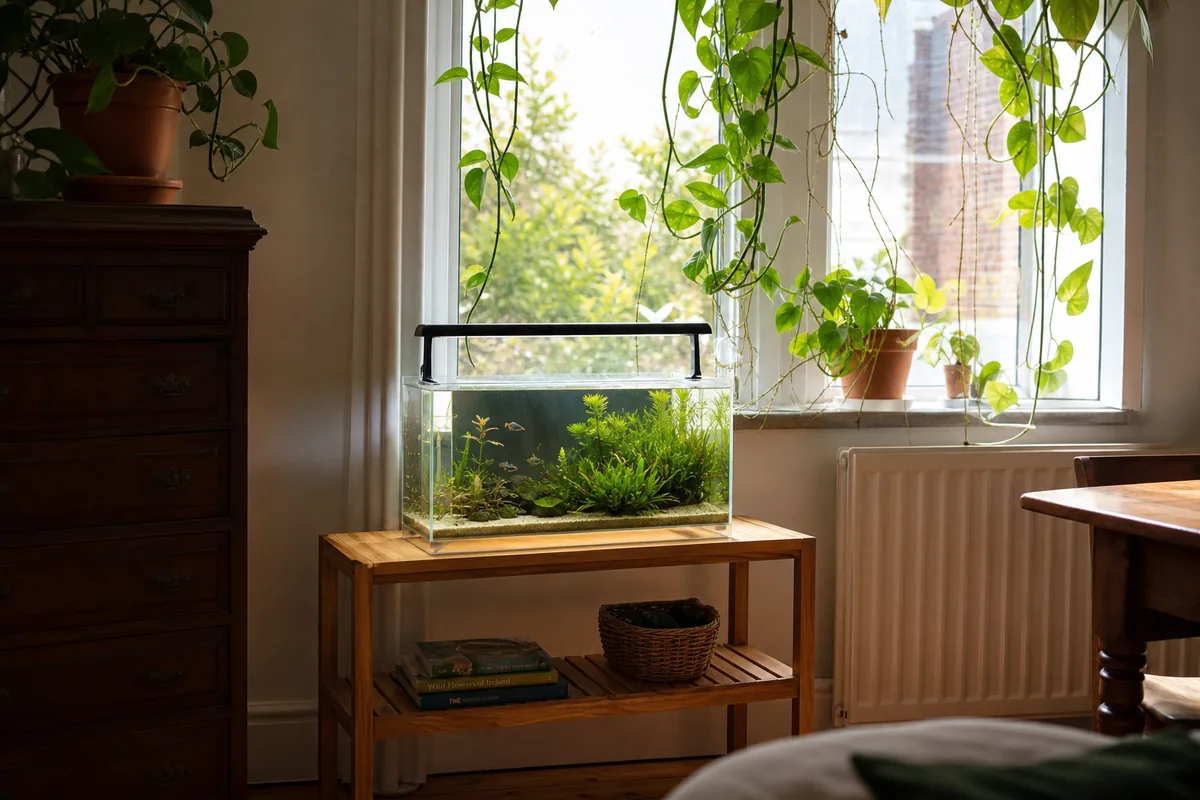
Understanding planted aquarium basics before you buy anything saves weeks of algae battles and dead plants. The difference between a thriving planted tank and a frustrating one almost always comes down to three variables: light duration, nutrient availability, and whether your plant choices match your setup's capabilities.
This guide walks through every step from substrate selection to long-term maintenance, with honest assessments of what beginners can skip and what they cannot.
Planted Tank Setup: Low-Tech vs. High-Tech Systems
The first decision in any planted tank setup is choosing between low-tech and high-tech. This choice determines your plant selection, equipment list, and weekly workload.
Low-tech planted tanks run without CO2 injection. They rely on low-to-medium light, easy undemanding plants, and a basic liquid fertilizer.
Water changes handle most of the nutrient management. Weekly maintenance takes 20-30 minutes.
This is the right starting point for beginners.
High-tech planted tanks add pressurized CO2 injection, high-output lighting, and regular nutrient dosing. They can grow carpeting plants like dwarf baby tears and Monte Carlo, and they produce faster, denser growth.
The tradeoff: more equipment, higher startup cost, and a tighter maintenance schedule. Any imbalance between light, CO2, and nutrients triggers algae fast.
- Low-tech: no CO2 system, low-medium light (20-40 PAR at substrate), easy plants, all-in-one liquid fertilizer, beginner-friendly
- High-tech: pressurized CO2 with regulator and solenoid, high light (50-100+ PAR), carpeting plants possible, Estimative Index or similar dosing method required
- Walstad method: soil capped with gravel, no filter in the traditional sense, heavy plant load balances fish waste naturally; low maintenance once established but difficult to troubleshoot
Start low-tech. If you find yourself wanting faster growth or carpeting plants after 6-12 months, upgrading to CO2 is straightforward once you understand how your tank behaves.
Key facts
- Minimum Tank Size
- 10 gallons (larger tanks are more stable and forgiving)
- Lighting Duration
- 6-8 hours per day; use a timer to keep it consistent
- Best Beginner Plants
- Java fern, anubias, crypts, amazon sword, java moss, hornwort
- Substrate Depth
- 2-3 inches for root feeders; 1 inch acceptable for rhizome plants only
- Fertilization (Low-Tech)
- All-in-one liquid (Seachem Flourish, Easy Green) 1-2x per week
- Co2 Required?
- No for low-tech; yes for carpeting plants and high-demand species
- Water Change Schedule
- 25-30% weekly; helps reset nutrient balance and prevent algae
- Algae Prevention Key
- Balance light duration, nutrients, and CO2 (or lack thereof)
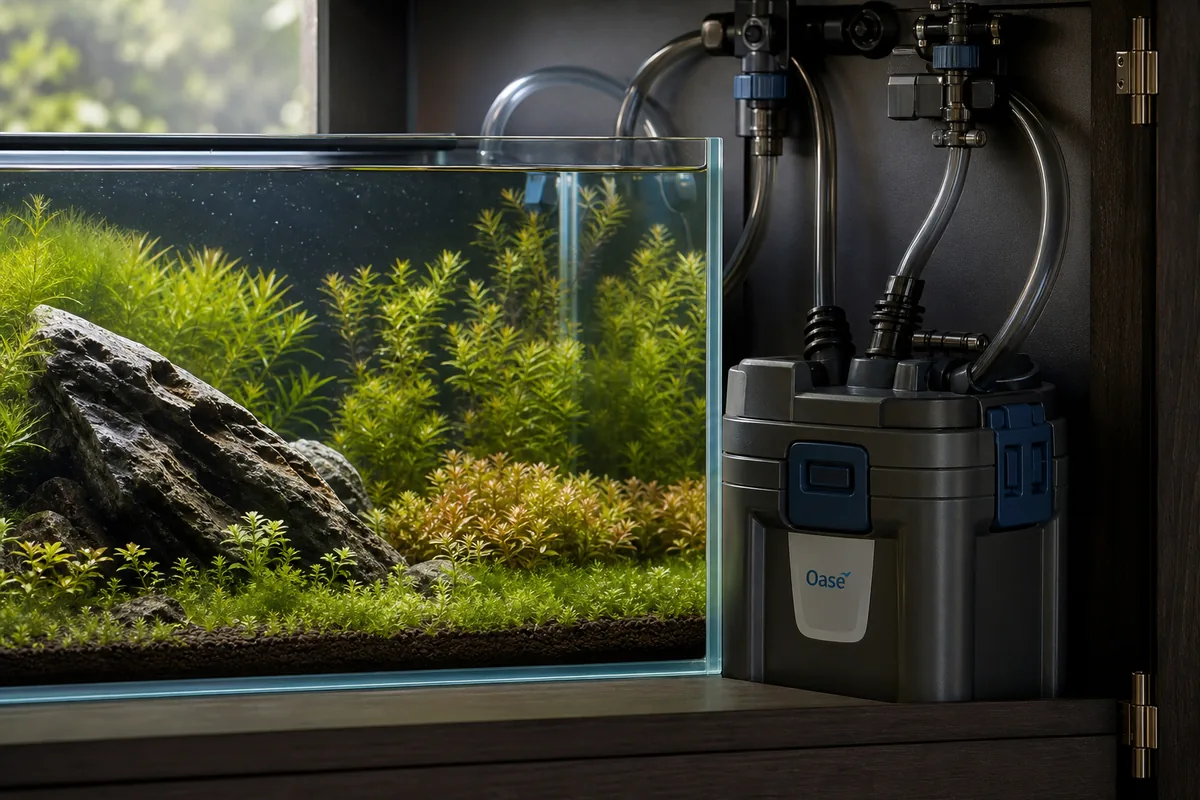
Substrate: the Foundation That Determines Plant Health
Substrate choice matters more in a planted tank than in a fish-only setup because most aquarium plants feed through their roots. An inert gravel that works fine for a betta tank may starve a planted system within months.
There are two categories: nutrient-rich substrates and inert substrates supported by root tabs.
Nutrient-rich substrates like Fluval Stratum and ADA Amazonia contain mineral nutrients that plant roots absorb directly. They support root-feeding plants like amazon swords and crypts without any additives for the first 6-12 months.
After that, root tabs supplement the depleted substrate. They lower pH slightly, which benefits most tropical planted tank fish.
Inert substrates like plain gravel, pool filter sand, or CaribSea Eco-Complete (partially inert) contain little or no plant nutrition on their own. Add root tabs every 6-8 weeks under root-feeding plants, and dose liquid fertilizer for column-feeding plants.
Corydoras do particularly well over fine sand substrates, which also suit low-tech planted tanks.
Corydoras are the most popular bottom-dweller for planted tanks because their foraging behavior disturbs the substrate surface gently without uprooting plants. Our corydoras care guide covers which species stay small enough for 10 and 20-gallon planted builds and which need the extra floor space of a 29-gallon or larger.
| Substrate | Type | Nutrient Level | Best For | Approx. Cost |
|---|---|---|---|---|
| Fluval Stratum | Nutrient-rich | High | Root feeders, soft water fish | $20-35 (4.4 lb) |
| ADA Amazonia | Nutrient-rich | Very high | High-tech, demanding plants | $35-60 (9 lb) |
| CaribSea Eco-Complete | Volcanic/partial | Medium | General planted tanks | $25-40 (20 lb) |
| Pool filter sand | Inert | None | Corydoras tanks, Walstad base | $8-12 (50 lb) |
| Plain aquarium gravel | Inert | None | Budget setups with root tabs | $8-20 (10 lb) |
Cap depth at 2-3 inches. Deeper substrate goes anaerobic in the lower layers and produces hydrogen sulfide gas that harms roots and fish alike.
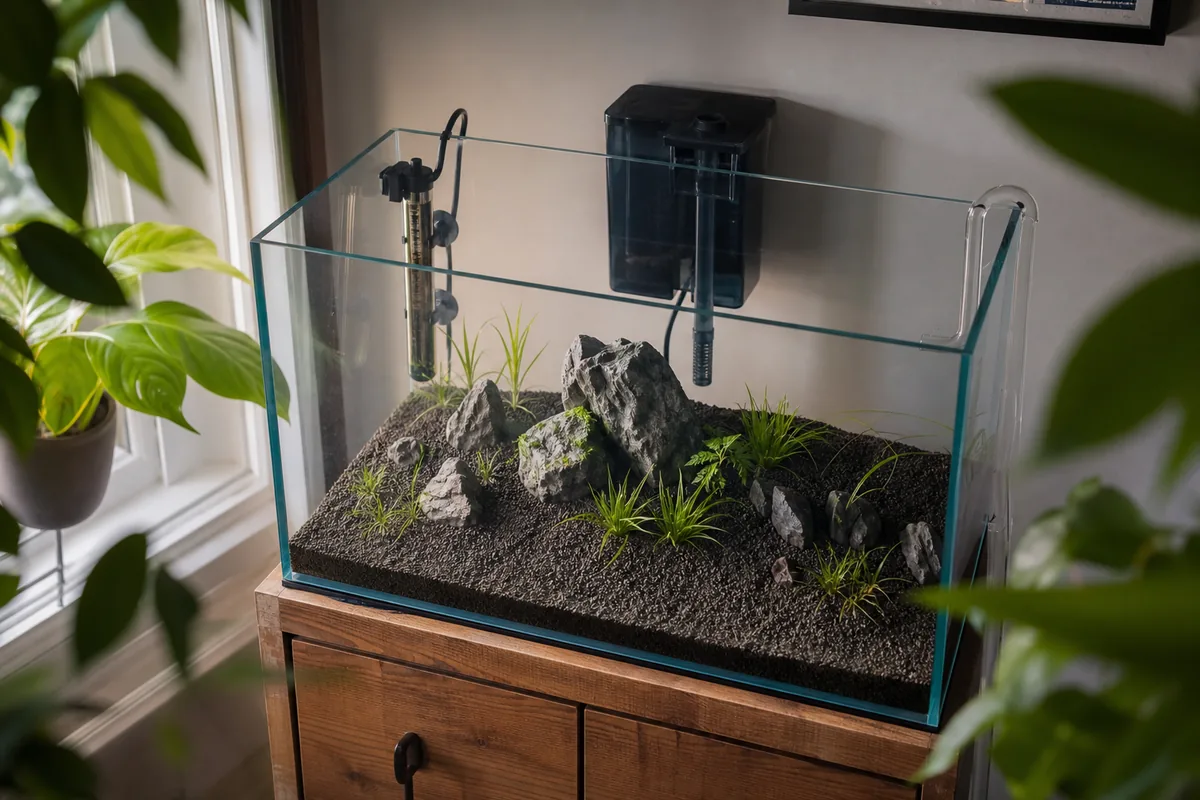
Lighting: Hours and Intensity Both Matter
Light is the variable beginners get wrong most often. Too little light and plants yellow and melt.
Too much light with insufficient CO2 and nutrients feeds algae instead of plants. The goal is a consistent, appropriately intense photoperiod.
Run lights for 6-8 hours per day on a timer. Inconsistent hours destabilize plant metabolism and invite algae.
A $10 mechanical outlet timer eliminates this problem entirely. Never run lights for 10-12 hours to "help the plants grow faster": you will grow algae faster instead.
- Low-tech tanks: 20-40 PAR at the substrate surface; standard LED fixtures included with most aquarium kits are adequate for easy plants
- Medium-tech tanks: 40-60 PAR; lights like the Fluval Plant 3.0 or Chihiros WRGB offer adjustable intensity and spectrum
- High-tech tanks: 60-100+ PAR; requires CO2 injection to match; without CO2, this intensity causes green spot algae and hair algae within days
- Siesta period: some keepers split the photoperiod (3 hours on, 4 hours off, 3 hours on) to reduce algae without reducing total light; works well in borderline setups
Spectrum matters less than intensity and duration for most plants. Full-spectrum white LEDs in the 6500K range grow plants effectively.
Red-heavy spectra make plants look lush in photos but are not necessary for plant health.
Step-by-Step Planted Tank Setup: Build It in Order
The sequence below matters. Installing hardscape before water prevents disturbing roots.
Planting before running equipment lets plants settle without current displacement.
- Rinse substrate and prepare hardscapeRinse inert substrates until water pours clear. Do not rinse nutrient-rich substrates like Fluval Stratum or ADA Amazonia: rinsing removes the nutrient coating. Soak driftwood in a separate bucket for 24-48 hours to leach tannins and prevent a heavy brown water tint on day one.
- Layer the substratePour 2-3 inches of substrate across the bottom. If you are using inert substrate with a soil underlayer (Walstad method), place 1 inch of organic potting soil first, then cap with 1.5 inches of sand or gravel. Smooth the surface and slope slightly toward the back for visual depth.
- Place hardscape before waterPosition rocks, driftwood, and caves before adding water. This is your only chance to arrange hardscape without fighting water displacement. Press large rocks into the substrate slightly so they do not shift. Use the rule of thirds: an off-center focal point looks more natural than a centered one.
- Add a small amount of water firstPour 1-2 inches of dechlorinated water over the substrate before planting. This gives you something to work roots into without them drying out during placement. Pour onto a plate or the back of your hand to avoid cratering the substrate.
- Plant in planned zonesPlace tall background plants (amazon sword, hornwort, vallisneria) along the back wall. Put midground plants (crypts, anubias, java fern) in the middle third. Leave the foreground open for now unless you are running CO2 and attempting carpet plants. For rhizome plants like java fern and anubias, tie them to driftwood or wedge them between rocks: burying the rhizome kills the plant.
- Fill and treat the waterFill slowly by pouring onto a plate resting on the substrate surface. Add dechlorinated water until you reach 1 inch below the rim. Dose water conditioner per bottle instructions immediately. Some cloudiness is normal: it will clear within 24-48 hours as the filter runs.
- Install and run equipmentMount the heater near the filter output. Position the filter intake away from delicate plants to avoid sucking small leaves. Run the filter and heater for 24 hours before checking temperature. Set light on a timer before you turn it on: establishing the schedule from day one prevents the habit of forgetting to turn it off.
- Begin the nitrogen cycleAdd an ammonia source (pure ammonia drops dosed to 2 ppm, or a pinch of fish food daily) and test every day until the cycle completes. A planted tank cycles faster than a fish-only tank because plants consume ammonia directly. Full details on cycling planted tanks are in our dedicated cycling guide. Do not add fish until ammonia and nitrite both read 0 ppm.
Plant Selection: Easy Species That Work Without CO2
The plants listed below are the backbone of successful low-tech planted tanks worldwide. They have been proven to grow under standard aquarium lighting without CO2 injection.
All of them tolerate a range of water parameters and recover from beginner mistakes.
They divide into two feeding categories: column feeders absorb nutrients through their leaves from the water column (java fern, hornwort, java moss, anubias), and root feeders draw nutrients primarily through their roots from the substrate (amazon sword, crypts). Column feeders do well in inert substrate.
Root feeders need either nutrient-rich substrate or regular root tabs.
- Java fern (Microsorum pteropus): bulletproof column feeder; attach to driftwood or rock; survives low light and irregular fertilization; grows 6-12 inches tall
- Anubias (Anubias barteri and variants): extremely slow-growing column feeder; thrives in low light; attach to hardscape; algae grows on old leaves but the plant itself is nearly indestructible
- Crypts (Cryptocoryne wendtii, C. beckettii): root feeders that melt when moved (crypt melt is normal and temporary); replant the roots and leave them alone; grow back within 2-3 weeks
- Amazon sword (Echinodorus bleheri): large root feeder that becomes a centerpiece plant; needs root tabs in inert substrate; pairs well with planted tank fish like neon tetras that occupy the upper-middle column
- Java moss (Taxiphyllum barbieri): tie to driftwood or let it float; great for surface cover, fry refuges, and shrimp tanks; grows in almost any light condition
- Hornwort (Ceratophyllum demersum): fast-growing column feeder that absorbs excess nutrients; use it as a nutrient sponge in new tanks; trim weekly or it takes over
Carpeting plants like dwarf baby tears (Hemianthus callitrichoides) and Monte Carlo (Micranthemum tweediei) require CO2 injection and high light. Attempting them in a low-tech setup produces sparse, weedy growth at best and algae at worst.
Hold off until you are confident in your CO2 system.
Cherry shrimp are one of the best algae-control additions for a low-tech planted tank, and they breed readily in established planted setups. Our cherry shrimp care guide covers the water parameters and plant density they need to thrive and reproduce without becoming a fish snack.
Angelfish are a popular centerpiece choice for planted tanks because they use tall stem plants as territory markers and show their full color against dark green backgrounds. Our angelfish care guide covers the minimum tank size, plant density, and water parameters needed to keep them alongside community fish without chronic aggression.
Otocinclus catfish are the most effective algae eaters for planted tanks because they clean diatoms and green algae off broad leaves without disturbing plant roots. Our otocinclus care guide covers their schooling requirements, sensitivity to new tank conditions, and why they should never be added to a tank less than three months old.
Ember tetras are one of the best nano fish for planted tanks: they stay under one inch, school tightly, and their orange coloration contrasts sharply against green plants. Our ember tetra care guide covers their schooling count, temperature range, and how they perform in low-tech setups without CO2.
A 10-gallon planted tank is an ideal starting point because it holds enough water volume to buffer small parameter swings while keeping equipment and plant costs manageable. Our 10-gallon stocking guide covers which species fit the footprint and which plants work at that scale.
Equipment: What You Need Beyond the Basics
A planted tank needs everything a standard freshwater tank needs, plus a few additions specific to plant health.
For high-tech setups, add a CO2 system. A pressurized CO2 kit includes a CO2 tank (5 lb aluminum is the standard starter size), a regulator with solenoid (the solenoid turns CO2 off at night when plants are not consuming it), a bubble counter to monitor the drip rate, and a diffuser to dissolve CO2 into the water.
A drop checker filled with 4dKH reference solution and bromothymol blue indicator changes color to show whether CO2 levels are too low (blue), correct (green), or too high (yellow).
Fertilization: Matching Nutrients to Your Plant Load
Plants need macronutrients (nitrogen, phosphorus, potassium) and micronutrients (iron, magnesium, manganese, and trace elements). In a low-tech tank with fish, the fish's waste provides most of the nitrogen and phosphorus.
What usually runs short is potassium and iron.
An all-in-one liquid fertilizer like Seachem Flourish or Easy Green covers the full spectrum in one bottle. Dose 1-2 times per week, after the lights come on.
Do not dose on water change day: you are removing the fertilizer you just added. Dose the day after the water change instead.
- Yellow, transparent leaves: usually iron or magnesium deficiency; dose Seachem Flourish Iron or switch to a fertilizer with higher micronutrient content
- Stunted new growth or twisted leaves: often calcium or potassium deficiency; add potassium supplement or check if your water is extremely soft
- Healthy old growth but melting new leaves: common in crypts after relocation (crypt melt); leave roots in place and wait 2-3 weeks
- Rapid algae growth with healthy plants: excess nutrients relative to light and CO2; reduce fertilizer dose by 25% and check light duration
Do not chase perfect fertilization numbers as a beginner. Use a standard dose of an all-in-one product, watch the plants, and adjust based on what you see.
Symptoms appear on leaves within 1-2 weeks of a deficiency.
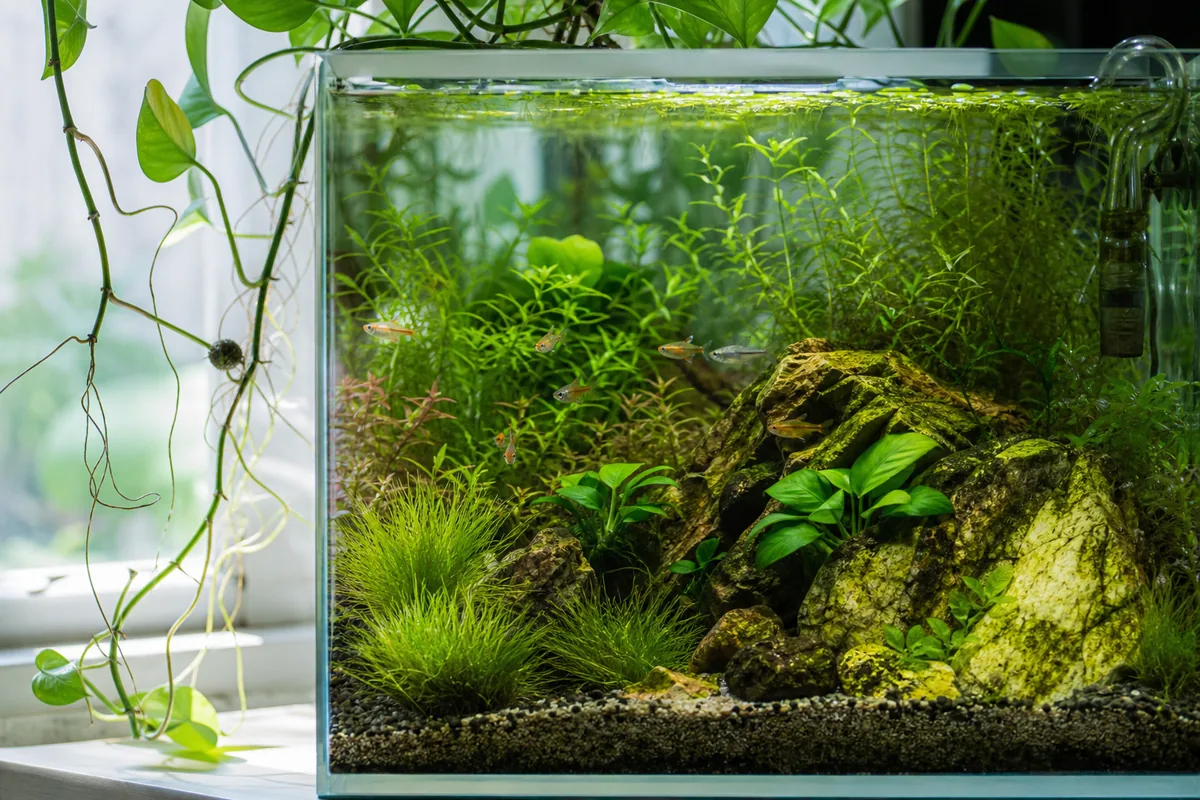
Maintenance: Weekly and Monthly Tasks
A low-tech planted tank in good balance is one of the lower-maintenance freshwater setups. The plants do much of the biological work: they absorb ammonia and nitrates directly, which reduces filter load and extends the time between parameter swings.
Weekly tasks take 20-30 minutes once the tank is established.
- Water change (25-30%): siphon detritus from the substrate surface, remove and replace 25-30% of tank volume with treated tap water at the same temperature
- Trim fast-growing plants: cut hornwort, water sprite, and stem plants before they shade lower plants; replant cuttings or discard them
- Dose fertilizer: add liquid all-in-one fertilizer the day after the water change
- Check parameters: test nitrate weekly; if it climbs above 40 ppm before the scheduled water change, increase change frequency
- Wipe algae from glass: a magnetic algae scraper takes 2 minutes and prevents buildup from blocking light
Monthly tasks include trimming and propagating plants. Most stem plants and java moss propagate by cutting: snip a healthy stem, remove the bottom leaves, and replant the cutting in substrate.
Anubias propagates by rhizome division: cut the rhizome with clean scissors, leaving at least two leaves on each section, and attach both pieces to hardscape.
Algae Prevention: Balance Is the Only Long-Term Solution
Every planted tank keeper deals with algae at some point. The tanks that stay clean long-term are the ones where light, nutrients, and CO2 (or the absence of CO2) are in proportion to each other.
Adding more of any one variable without matching the others creates algae conditions.
The most common beginner mistake is running lights too long. Eight hours is the ceiling for most low-tech tanks.
If algae appears after a stable period, the first adjustment is always to reduce the photoperiod by 30-60 minutes and observe for one week before changing anything else.
- Green water (suspended algae bloom): block all light for 3 days (blackout); the plants survive, the algae does not; fix the root cause (usually too much light or a recent large feeding) before turning lights back on
- Black beard algae (BBA): associated with CO2 fluctuation or very low CO2; in low-tech tanks, spot-treat with Excel (glutaraldehyde) directly on affected areas using a pipette with the filter off
- Green dust algae on glass: wipe off and it comes back; wait 3 weeks without wiping, then do one full wipe-down; the algae completes its lifecycle and often does not return
- Algae-eating crew: otocinclus catfish for diatoms and green algae on glass; amano shrimp for hair algae and soft algae types; nerite snails for green spot algae on hardscape
A planted tank with a balanced light schedule, weekly water changes, and a modest fertilizer dose will not develop chronic algae problems. Algae outbreaks happen when the balance shifts: a vacation causes missed water changes, a new light fixture runs brighter than the old one, or a sudden temperature spike accelerates growth on all fronts.
Sources and references
- Nitrogen cycling and plant nutrient uptake in freshwater planted aquariaof Aquatic Plant Management, Vol. 45, 2007
- Low-tech planted aquarium management and algae control protocolsof Florida IFAS Extension, Aquatic Plant Management Series
- Substrate selection and root zone nutrition in ornamental aquatic plant cultivationHortScience, Vol. 41, Issue 3, 2006 : American Society for Horticultural Science